
If you've ever yearned to fill your home with the irresistible aroma of fresh bread baking, this Homemade Classic Bread Recipe will be your new best friend. It’s straightforward, satisfying, and delivers that perfect golden crust with a soft, tender crumb inside. Baking this bread from scratch not only fills your kitchen with warmth but also offers a rewarding hands-on experience that culminates in a loaf you’ll proudly slice and share with everyone you love. Trust me, once you make this recipe, you'll wonder how you ever lived without a homemade loaf fresh out of your oven.
Ingredients You'll Need
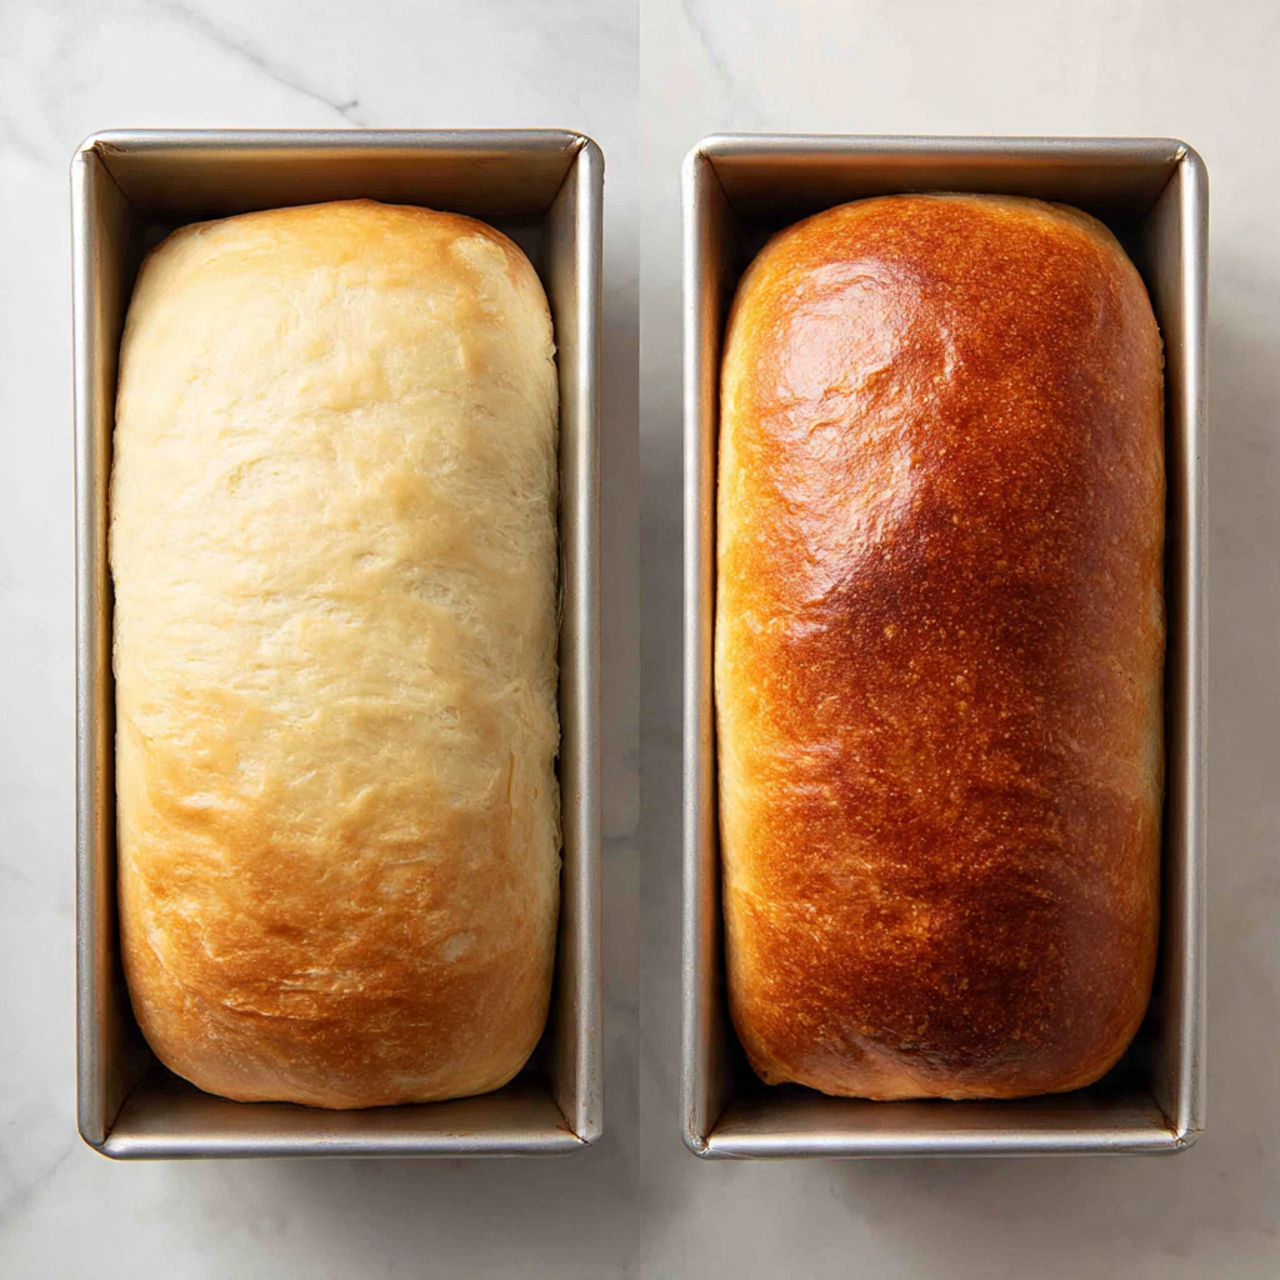
The magic of this Homemade Classic Bread Recipe lies in its simplicity. Each ingredient plays a vital role, contributing flavor, texture, and the perfect rise — making it easy to achieve bakery-worthy bread right at home.
- Warm water (2 cups, 105-115°F): Perfect temperature awakens the yeast for a lively rise.
- Active dry yeast (1 tablespoon): The powerhouse that makes the dough rise beautifully.
- Honey or sugar (¼ cup): Adds subtle sweetness and feeds the yeast for better fermentation.
- Salt (2 teaspoons): Enhances the flavors and balances the sweetness.
- Canola or vegetable oil (2 tablespoons): Keeps the bread tender and moist.
- All-purpose or bread flour (4 to 5 ½ cups): Forms the structure and chewiness of the loaf, adjust for dough consistency.
How to Make Homemade Classic Bread Recipe
Step 1: Proof the Yeast
Start by combining your warm water, active dry yeast, and a pinch of honey or sugar in a large bowl or stand mixer. Let it rest for 5 to 10 minutes until bubbly and foamy. This proofing confirms your yeast is active and ready to work its magic. If nothing happens during this time, it's best to grab fresh yeast to avoid a flat loaf.
Step 2: Combine Ingredients
Once your yeast is bubbly, stir in the remaining honey or sugar, salt, oil, and 3 cups of flour. Mix everything together to begin forming your dough. Gradually add another cup of flour, then continue mixing while adding flour ½ cup at a time until the dough pulls away from the sides of the bowl. The consistency should be smooth and elastic, slightly sticky to your clean finger but not wet.
Step 3: Knead the Dough
Kneading develops the gluten needed for structure and that satisfying chew. Use your stand mixer on medium speed for 4 to 5 minutes, or knead by hand on a floured surface for 5 to 8 minutes. You’ll notice the dough becoming more springy and less sticky as you work it.
Step 4: First Rise
Grease a large bowl with oil and place your dough inside, turning it once so every side gets a touch of oil. Cover the bowl with a dish towel or plastic wrap, and let it rise in a warm spot until doubled, about 1 ½ hours. This rising phase is essential to develop flavor and texture.
Step 5: Prepare the Pans
While the dough is rising, generously spray two 9x5-inch loaf pans with cooking spray, ensuring every corner is covered. Lining the bottom with parchment paper is a helpful extra step, catching any sticking and making cleanup easier.
Step 6: Shape and Second Rise
Punch down the risen dough to release trapped air bubbles, then divide it evenly into two portions. Shape each piece into logs and place them into the prepared pans. Cover gently with a lightweight dish towel or greased plastic wrap and let them rise again until they puff about an inch over the rim of the pans, roughly 45 minutes to one hour.
Step 7: Bake to Perfection
Preheat your oven to 350°F. Bake the loaves for about 30 to 33 minutes until they turn a beautiful golden brown. To check doneness, tap the top of each loaf gently; a hollow sound means your bread is perfectly baked inside.
Step 8: Cool and Finish
Remove the loaves from the pans and set them upside down on a wire rack to cool. While still warm, brush the tops with butter for a soft, shiny crust. Allow at least 10 minutes of cooling before slicing, so the crumb sets up nicely and slices don’t crumble.
How to Serve Homemade Classic Bread Recipe

Garnishes
A simple brush of butter right after baking is a classic way to add richness and a glossy finish to your bread’s crust. For some extra flair, try sprinkling coarse sea salt or herbs like rosemary on top before baking.
Side Dishes
This bread pairs wonderfully with soups, stews, and salads, serving as the perfect accompaniment to scoop up sauces or add a warm bite alongside your meal. It’s also divine with creamy butter, honey, or your favorite jam for a cozy snack.
Creative Ways to Present
Slice the loaf thick for toast or sandwich-making, or cube it and toast the pieces lightly in olive oil and garlic for homemade croutons. For a rustic touch, serve it with a cheese board featuring multiple spreads and charcuterie to impress guests.
Make Ahead and Storage
Storing Leftovers
Store your homemade loaves in an airtight container or plastic bag at room temperature for up to 2 to 3 days. This keeps the bread soft and fresh without drying out, perfect for everyday use.
Freezing
If you want to save bread for longer, wrap the cooled loaves tightly in plastic wrap and place them in a freezer bag. Frozen bread can keep up to 3 months without sacrificing taste or texture.
Reheating
To bring back the fresh-from-the-oven feel, thaw frozen bread at room temperature and heat it in a 350°F oven for about 10 minutes. This refreshes the crust and warms the crumb, making every slice taste as wonderful as the day it was made.
FAQs
Can I use whole wheat flour instead of all-purpose?
Yes! Whole wheat flour will add nuttiness and extra fiber but may require a bit more water. Mixing whole wheat with bread flour often yields the best texture and rise.
What if my dough doesn’t rise?
If your dough fails to rise, it usually means the yeast was inactive or the environment was too cold. Always proof your yeast first, and ensure your rising spot is warm and draft-free.
Can I knead the dough by hand?
Absolutely! Kneading by hand can be very satisfying and only takes a few minutes longer than using a mixer. Just be sure to knead until the dough feels smooth and elastic.
Is it necessary to use oil in this recipe?
While not strictly required, oil adds moisture and tenderness to your bread, preventing it from drying out too quickly. You can substitute with melted butter or even leave it out, but expect a slightly different crumb.
How do I know when the bread is fully baked?
Look for a deep golden crust and do the hollow tap test on the loaf top. If it sounds hollow, the inside is cooked through. You can also use a thermometer; an internal temp of 190°F is ideal for bread.
Final Thoughts
There’s truly nothing like taking a slice of warm, freshly baked bread made from your own hands. This Homemade Classic Bread Recipe invites you to slow down, enjoy the process, and savor the results with every crumb. Believe me, once you master this recipe, your kitchen will forever smell like happiness, and your table will always have the best companion for any meal.
Print
Homemade Classic Bread Recipe
This homemade bread recipe yields soft, golden loaves with a slightly sweet flavor and a tender crumb. Made with simple ingredients like yeast, honey, oil, and flour, the dough is kneaded and left to rise twice to develop flavor and texture. Perfect for sandwiches or serving alongside your favorite meals, this classic bread is a satisfying baking project that results in delicious fresh bread at home.
- Total Time: 3 hours 45 minutes
- Yield: 24 servings (2 loaves)
Ingredients
Dough Ingredients
- 2 cups warm water (105-115 degrees F / 474g)
- 1 tablespoon active dry yeast
- ¼ cup honey or sugar (85g honey or 50g sugar)
- 2 teaspoons salt
- 2 tablespoons oil (canola or vegetable, 30 ml)
- 4 to 5 ½ cups all-purpose or bread flour (500g to 688g)
Instructions
- Prepare the dough: In a large bowl or stand mixer, combine the yeast, warm water, and a small pinch of sugar or honey. Let it rest for 5-10 minutes until the mixture becomes foamy and bubbly, indicating the yeast is active.
- Mix remaining ingredients: Add the rest of the sugar or honey, salt, oil, and 3 cups of flour to the yeast mixture and mix until just combined.
- Add more flour: Gradually add 1 more cup of flour and mix. With the mixer running, add additional flour ½ cup at a time until the dough pulls away from the sides of the bowl and feels smooth, elastic, and slightly sticky but manageable.
- Knead the dough: Knead the dough in the mixer on medium speed for 4-5 minutes, or knead by hand on a lightly floured surface for 5-8 minutes until smooth and elastic.
- First rise: Lightly grease a large bowl with oil or cooking spray. Place the dough inside, turning to coat all sides. Cover with a towel or plastic wrap and let it rise in a warm place until doubled in size, about 1 ½ hours.
- Prepare pans: Spray two 9x5 inch bread pans generously with cooking spray, optionally lining bottoms with parchment paper.
- Shape the loaves: Punch down the risen dough to remove air bubbles. Divide it into two equal parts and shape each into a loaf. Place the loaves into the prepared pans.
- Second rise: Cover the pans with a lightweight towel or lightly sprayed plastic wrap. Let the dough rise for 45 minutes to 1 hour until it rises about 1 inch above the pans.
- Bake: Preheat the oven to 350°F (175°C). Bake the bread for 30-33 minutes until the tops are golden brown and sound hollow when tapped.
- Cool and finish: Remove the loaves from the pans and invert onto a wire rack. Brush tops with butter and allow to cool for at least 10 minutes before slicing.
- Storage: Store cooled bread in an airtight container or bag at room temperature for 2-3 days, or refrigerate up to 5 days.
Notes
- If the yeast mixture does not foam during proofing, your yeast may be inactive. Start over with fresh yeast for best results.
- Use warm water between 105-115°F to activate the yeast without killing it.
- Adjust the amount of flour as needed; the dough should be slightly sticky but workable.
- Rising times may vary depending on the warmth of your environment; a warmer place will speed up rising.
- Brushing the loaves with butter after baking adds flavor and a nice sheen to the crust.
- Lining pans with parchment paper is optional but helps with easy removal of bread.
- Prep Time: 15 minutes
- Cook Time: 33 minutes
- Category: Bread
- Method: Baking
- Cuisine: American


Leave a Reply